Deploying
📝 Deploying was discussed, but not demonstrated in the course. You can follow the steps below if you would like to deploy the client and server applications.
With React or any client-side framework, deployment is easy. Run npm run build to generate your HTML, CSS, and JS file with Vite and toss them on any static web host. This project is a little different because it calls an API from a local Node.js server. So that needs to be deployed too. What good is a pizza ordering website with out pizzas, right?
To get both the client and server applications deployed, we'll have to do a little refactoring. We'll also introduces some best practices along the way. The React client app will be deployed to Netlify and the Node.js server app will get deployed to Render. Both platforms have free tiers and we'll use a GitHub workflow to make deployment super easy.
If you want to skip all the refactoring and just deploy the finished applications, you can use the code in the
pizza-client-appandpizza-server-appdirectories in the 18-deploying directory in the repo.
Refactoring the Static Assets
Our CSS, fonts, and images are all currently hosted in the API server application. This was purely for convenience so they didn't need to be copied across each code checkpoint in the course. In the real world, these should be with the React application.
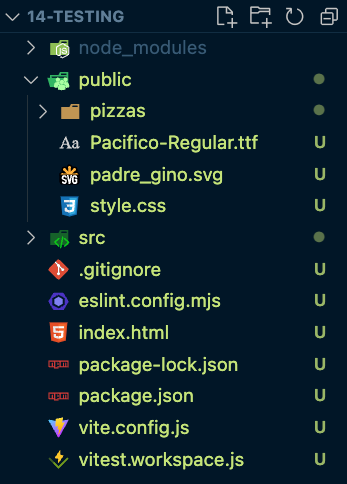
Move the public folder from the API project to the React project:

Also, Vite assumes anything in the public directory lives at the root of the published files so open style.css and remove all the "public" references. For example, the font should load from:
src: url("/Pacifico-Regular.ttf");
Lastly, update the stylesheet link in the index.html head:
<link rel="stylesheet" href="/style.css" />
Deploy the Node.js API Application
We still have some work to do in the React app, but let's get the server application deployed. This is a Node.js application built with Fastify so you need a host that supports Node. We're going to use Render so create an account there if you haven't already.
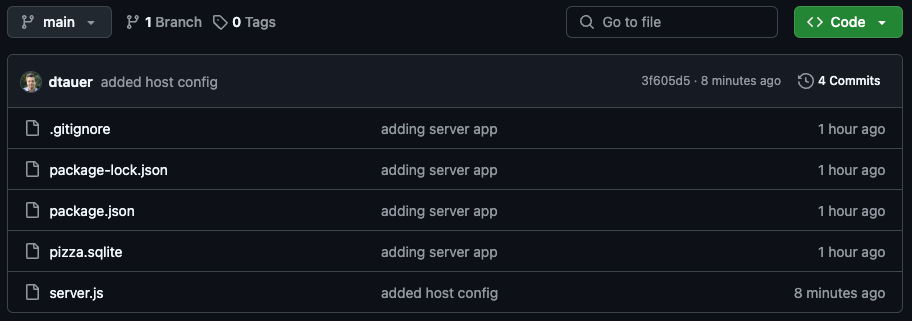
We're going to deploy it to Render with GitHub. Create a new GitHub repo for the API server. I'm using pizza-server-app. Run git init in your local project and add your GitHub repo as a remote repository so we can push the app there when we're ready.
Now to some refactoring. We moved the /public directory to the client app so we can delete the static file serving:
server.register(fastifyStatic, {
    ...
});
Our image paths need to be updated too. Remove every reference to public in the API responses. For example:
// Any image property like this:
image: `/public/pizzas/${pizza.pizza_type_id}.webp`,

// ...Should have public removed from it:
image: `/pizzas/${pizza.pizza_type_id}.webp`,
There no reason we need a fake 5 second wait in a production application (it was added to slow down requests so we could see the loading states locally). Remove the Promise:
await new Promise((resolve) => setTimeout(resolve, 5000));
Who loves CORS? Since our client application is loading data from a separate server, we need to allow that. The Vite proxy fixed that issue for us locally, but that won't work in production. We're taking the easy way out and just allowing everything. Add this Fastify hook to the server and check out the Frontend Masters Web Security course to learn more about CORS.
server.addHook('preHandler', (req, res, done) => {
    res.header("Access-Control-Allow-Origin", "*");
    res.header("Access-Control-Allow-Methods", "GET, POST");
    res.header("Access-Control-Allow-Headers",  "*");
    const isPreflight = /options/i.test(req.method);
    if (isPreflight) {
        return res.send();
    }
    done();
})
Lastly, Render requires your application to bind the host property to 0.0.0.0 instead of localhost, so create a property and update the server.listen() method:
// Create a HOST property after the PORT property
const HOST = ("RENDER" in process.env) ? `0.0.0.0` : `localhost`;

// pass it to the server.listen() method:
await server.listen({ host: HOST, port: PORT });
Deploy to Render
Ok, we are ready to deploy. Push your code to your GitHub repo.

Head over to the Render Dashboard and Deploy a New Web Service. Connect your GitHub account and choose the pizza-server-app repo (or whatever you called yours) as the source code for the project. All the defaults should work, however, make sure you select Free/Hobby tier for the server instance type.
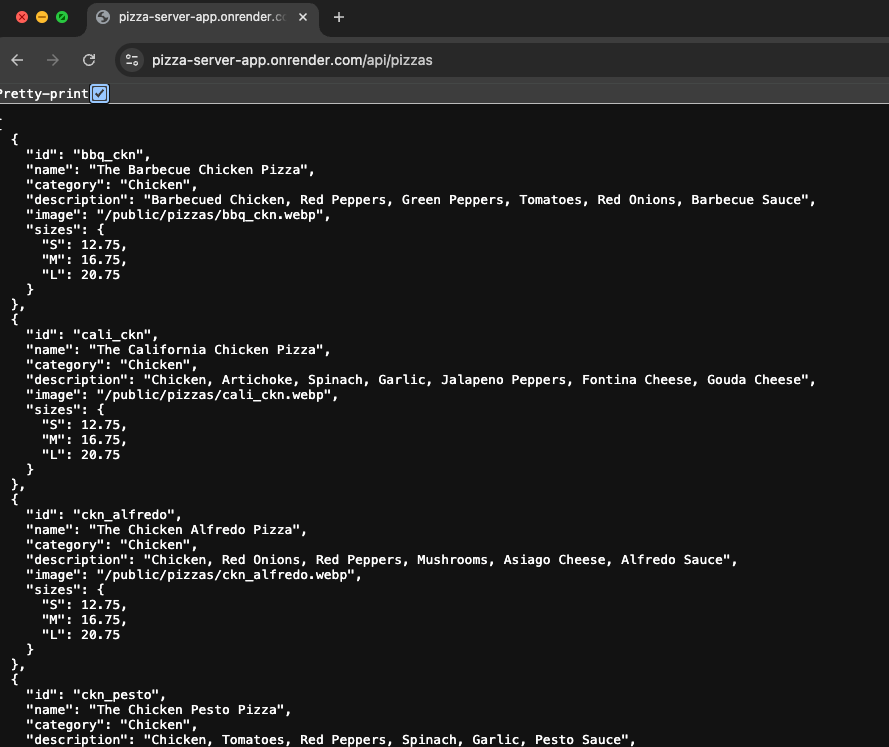
Once your server has deployed, you’ll be able to access it by the URL displayed in your dashboard. You can test it by accessing the [yourserver]/api/pizzas endpoint:

Your server API is deployed! And the cool thing about this is any time you push to your repo, it will automatically redeploy to Render.
Deploying the Client Application
Before we deploy the client application, we need to tweak a few things. We have a local development API server and a remote production API server -- both with two different URLs. We don't want these hard-coded in our application nor do we want to worry about switching the URL when we build our app. We're going to use some Vite environment variables to help us. Create two files in the root: .env.development and .env.production. Then add a VITE_API_URL to each:
# Add this to .env.development
VITE_API_URL=""


# Add this to .env.production
VITE_API_URL="https://[YOUR-SERVER-URL].onrender.com"
You can learn more about this in our Vite course, but the short version is these variables are added to the import.meta.env property by Vite (depending on it being development or production/build). We are not ignoring these files in Git so you wouldn't want any sensitive data added to these environment files. If we are running npm run build, add our production URL. If we are running npm run dev don't add anything -- because our local proxy will handle it.
Speaking of proxy, you can remove the /public proxy from the vite.config.js file. Now let's use VITE_API_URL. Find our three API helpers (getPastOrders.js, getPastOrder.js, and usePizzaOfTheDay.js) and update the fetch call to use the environment variable. For example:
const apiUrl = import.meta.env.VITE_API_URL;
const response = await fetch(`${apiUrl}/api/past-order/${order}`);
You'll also need to do this in order.lazy.jsx:
// create the property at the top
const apiUrl = import.meta.env.VITE_API_URL;

// update checkout
await fetch(`${apiUrl}/api/order`, {
...
})

// update fetchPizzaTypes
const pizzasRes = await fetch(`${apiUrl}/api/pizzas`);
Deploy to Netlify
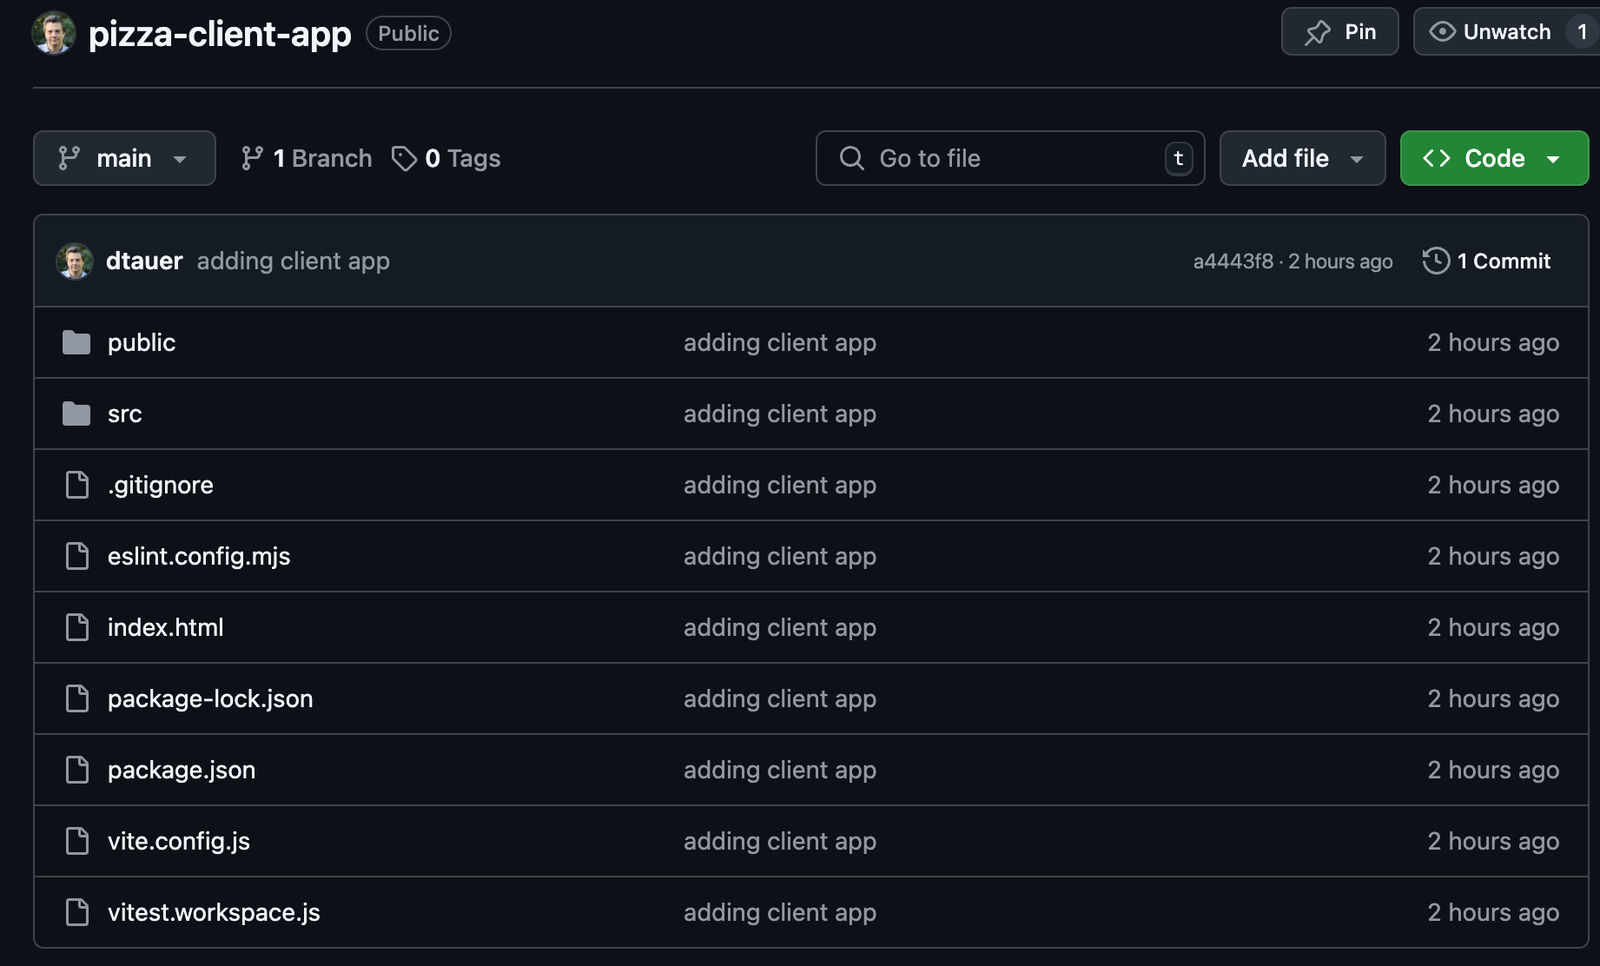
Whew! I think that's it. Push your code up to a septate GitHub repo. We're now ready to deploy!

Head over to Netilfy, create an account if you don't already have one, and click to create a new site. You’ll choose to import a project from GitHub:

When configuring the project, the defaults should work:

Once your site is deployed, you should be able to access it with the name you selected during the setup. For example, https://[Your-App-Name].netlify.app.
Congrats!
You now have a client React application deployed to Netlify and a Node.js server API deployed to Render!